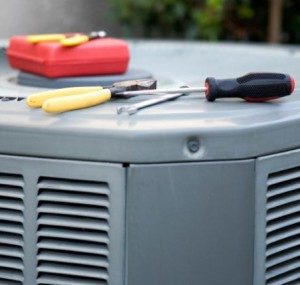
Air conditioners can be a pain in the pocket if a simple repair turns into hundreds of dollars. Below is a guide on troubleshooting your AC that can help. The only things needed are a few tools that can easily be found in any household garage, and just a bit of DIY know-how to make them work. Troubleshooting your AC can be easy, and can save hundreds of dollars in the long run.
 Routine Maintenance
Contents
It is important that routine maintenance is consistently performed on every HVAC unit. Make sure that this is being done regularly, even if the air conditioner seems to be working normally. One of the most common reasons why ACs appear to be malfunctioning is because of a dirty filter, which clogs the intake and exhaust pipes with dust and generally makes a nuisance of itself. If the AC is still acting up after checking the filter, perform these next steps:
1. Check the Thermostat
Checking your thermostat should happen first. Make sure that the thermostat level is set on “cool” and that it is set on a temperature that is lower (or, during winter, higher) than the actual room’s temperature. Doing this will make sure that there is a real problem. If this is not the problem, proceed to the step two.
2. Check the Airways
Every AC unit has two main airways: the intake/exhaust, and the blower. The first one is usually located outside or facing outwards, while the latter is the one that faces inside. Each has at least one fan that should be operating whenever the AC is on. If one of these does not appear to be moving, the fans should be checked for any mechanical or electrical faults. If this is not the problem, proceed to the step three.
3. Check for Ice or Frost
Oftentimes the low temperature of some parts of the AC will cause water in the surrounding air to condense and form ice or frost around them, and this may cause the electronics to go haywire. The best way to get rid of ice or frost is to turn off the intake/exhaust fan but allow the blower to continue running for a couple of hours to allow the ice to melt. Afterwards, turn the AC back on. If the problem isn’t being caused by ice or frost, proceed to the step four.
4. Check Refrigerant
To check this, the AC has to be running at the maximum (lowest temperature) thermostat setting for 10-15 minutes. After this time period, measure the temperature drop by getting the difference between the temperature of the air entering the unit and the air exiting it. For most units it should be 15-20 degrees; if it is significantly lower than that, the refrigerant needs to be replaced. Due to federal regulations on refrigerant usage, a professional will need to be called at this point.
It is important that when you need air conditioning and heating services, including an AC tune up, you use a reputable and experienced company like Princeton Fuel Oil. We’ve been providing superior services since 1941.


